Nan’s Pasty Camp
Being from Cornwall, I really wanted to learn how to make pasties the proper Cornish way. I figured making pasties would not only be a good supper fix but also provide the ultimate comfort food when I’m feeling a little home sick. I’ve got to admit that I was a little intimidated at first, I’m not a big cooker, so I decided there was only one woman for the job. I decided to call in the big guns: ‘Nan! I need your help…’ So here we have it… Nan’s Pasty Camp. Don’t forget your pinny.
Part 1: The Pastry
This pastry is so simple and can be used to make jam tarts, quiche, mince pies, pasties and more. Once made you can even store in the freezer.
Ingredients:
2Ib Flour (most recipes use plain flour but nan recommends self-raising)
1Ib Fat (recommended 1/2 margarine and 1/2 Trex which is a vegetable fat you can buy in most supermarkets)
Pinch of salt
Water
Instructions:
1. Sieve the flour into a large bowl. Mix the fat and flour together using your finger tips. You want to keep the mixture as cool as possible. Add a pinch of salt.
2. Now add some water (Nan recommends you start with half a pint) and fold in the flour and fat mixture using a wooden spoon.
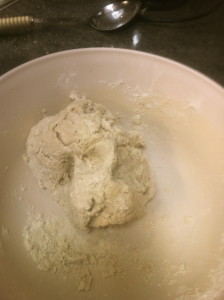 3. When fat, flour and water has combined and now looks like ‘a big fat lump’ (Nan’s words not mine) remove from the bowl and plonk on a chopping board, which should be dusted with a bit of extra flour. Now using a rolling pin (that has also been lightly dusted) to roll out the lump, this helps bind the pastry together. When you have a thick slab of pastry fold in the sides and use the rolling pin to mould into a fat oblong wedge.
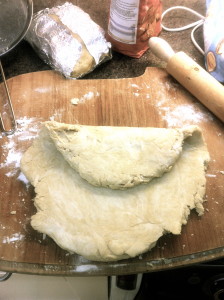 4. Wrap the pastry in foil and put in the fridge for 1-2 hours before cooking.
Part 2: The Cornish Pasty
Ingredients:
Cut of Beef (if you go to the local butchers Nan recommends asking for a cut called Skirt)
Spuds (Potatoes)
Turnip/Swede
Onion
Knob of Butter
Salt and Pepper for Seasoning
Instructions:
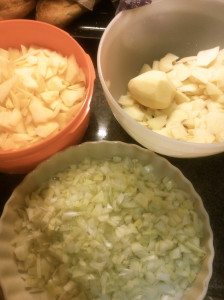
1. All in the preparation. Preheat the oven to 200°C. Chop onion into small chunks and using a small knife cut the potato and turnip into small chips.
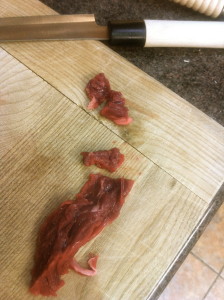
2. Prepare the meat by cutting into small bite size chunks.
3. Take the pastry which has been left to chill in the fridge and divide into segments to make your pasties. (Is doesn’t matter whether you make six small pasties or three bigguns – just be aware that you will have to adjust the cooking time according to the size. I.e. the bigger the pasty the longer it will take to cook.)
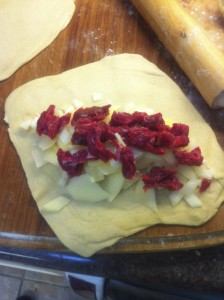
4. Roll out the pastry into a round circular shape. Now it’s time to pile on the filling. Put a layer of onion, potato, swede/turnip and meat in the centre of the pastry. Add a pinch of salt and pepper and a little knob of butter. The butter will make a delicious gravy as the meat and veg cook together in the oven.
Note from Nan: Don’t over-fill!
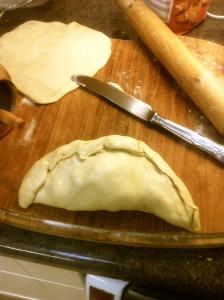
5. Let’s crimp this baby! Fold in the edges of the pastry into the middle and use your finger tips to press together the ends so the filling is sealed inside the pie. As you do this you can mould the pie into the traditional pasty shape; a thicker crust of pastry on the outer edge gives the pasty it’s signature look.
6. Place pasty on a square of buttered grease proof paper. Pop in a pre-heated oven for a good hour. (After about quarter of an hour turn temperature down to 180ºC and cook for the remaining time in this temperature.)
7. When your pasty is cooked. Enjoy on the go or at the table with a dollop of ketchup!
Mmm tastes like home!
Happy cooking peeps!
x
p.s. for more information on the history of pasties check out http://www.cornishpastyassociation.co.uk/cornish-pasty-historical-information/
Tags: cooking Cornwall DIY family happiness home Joy pasties
Categories: a little piece of joy Domestic Goddess
